

Find a certified professional
Safety must be your primary criterion when selecting a piercer. Before booking an appointment, verify that the artist holds current credentials and adheres to strict hygiene standards. A certified professional treats piercing as a medical-adjacent procedure, not just a cosmetic service.
Look for membership in professional organizations like the Association of Professional Piercers (APP). These groups enforce rigorous health and safety protocols, including the use of single-use needles and autoclave sterilization. You can verify a piercer’s status directly through their online directory, which serves as a reliable piercing resource for finding vetted artists in your area.
Never accept a piercer who uses a piercing gun for cartilage or oral piercings. These devices cause blunt-force trauma and cannot be properly sterilized, significantly increasing the risk of infection and complications.
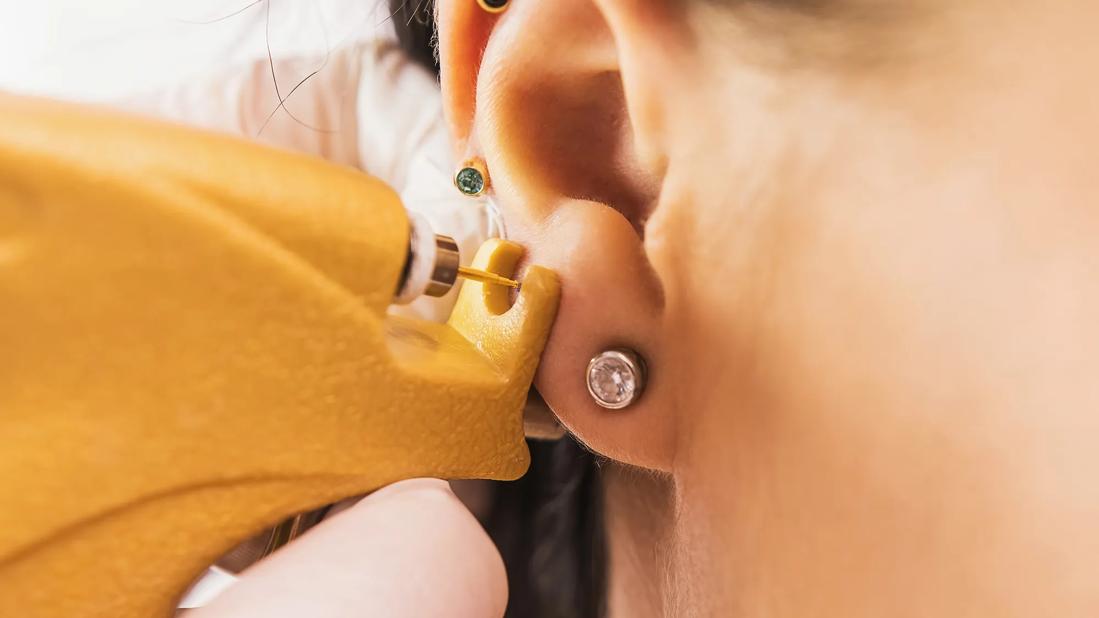
Visit the studio beforehand if possible. Observe the workspace: is it clean? Does the piercer wear gloves and change them between clients? Do they open sterile needle packages in front of you? These visible practices are strong indicators of a professional who prioritizes your health over speed or convenience.
Choose appropriate jewelry materials
The metal touching your fresh piercing determines whether it heals smoothly or becomes a source of irritation. Initial jewelry must be made from implant-grade materials that resist corrosion and minimize allergic reactions. Skipping this step turns a routine piercing into a medical issue, forcing you to remove the jewelry before the fistula (the healed skin tube) can form.
Implant-grade titanium
ASTM F136 titanium is the safest choice for initial piercings. It is lightweight, hypoallergenic, and biocompatible, meaning the body rarely rejects it. Look for jewelry explicitly labeled as ASTM F136 or "implant-grade." Avoid "surgical steel" unless it is ASTM F138, as cheaper alloys often contain nickel, the most common metal allergen.
ASTM F138 steel
If titanium is unavailable or too expensive, ASTM F138 steel is the next best option. It is highly polished and nickel-free, making it safe for most people. However, if you have a known nickel sensitivity, stick to titanium. Always verify the ASTM standard on the packaging or product description; vague terms like "surgical steel" are not enough.
Avoid plated or mystery metals
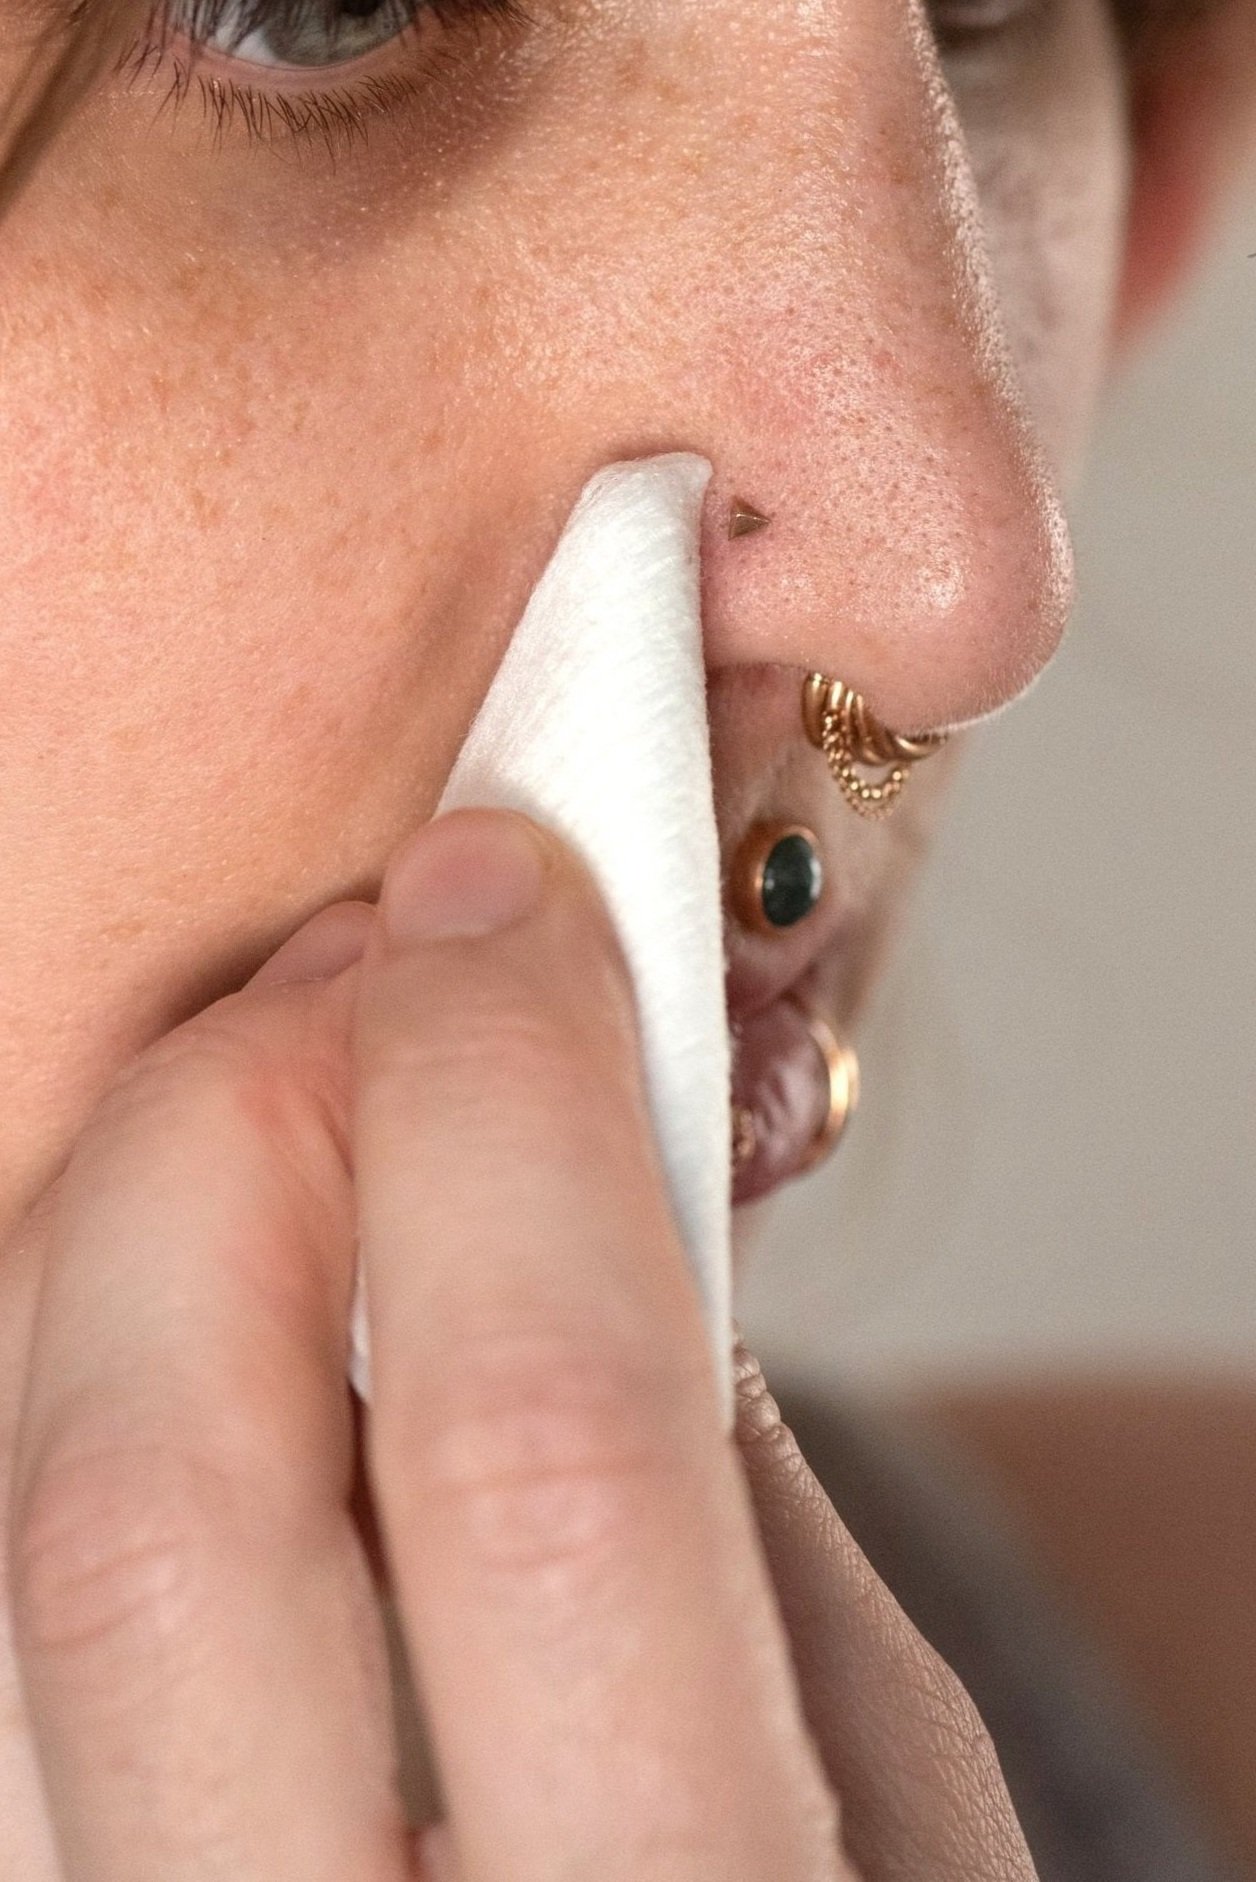
Gold-plated, rose-gold, or colored jewelry often wears off during the healing process, exposing the base metal to the open wound. This can cause discoloration, infection, or granulomas. Similarly, avoid acrylic, wood, or bone for new piercings, as these materials are porous and harbor bacteria. Stick to solid, non-porous metals until the piercing is fully healed. When researching a piercer, ask to see their jewelry catalog. A reputable professional will always offer ASTM-certified options for initial placements.
Follow proper aftercare steps
Research a Piercing and Piercer Safely works best as a clear sequence: define the constraint, compare the realistic options, test the tradeoff, and choose the path with the fewest hidden costs. That order keeps the advice usable instead of decorative. After each step, pause long enough to check whether the recommendation still fits the reader's actual situation. If it depends on perfect timing, unusual access, or a best-case budget, include a simpler fallback.
Understand healing timelines
Healing isn't a single event; it's a biological process that varies wildly depending on where the needle went. Assuming your earlobe piercing is ready to swap jewelry after six weeks when it’s actually still rebuilding tissue is the fastest way to cause irritation or rejection. Understanding these timelines prevents you from treating a fresh wound like a closed scar.
The body heals cartilage much slower than soft tissue because cartilage lacks its own blood supply. It relies on diffusion from the surrounding perichondrium, which makes the process sluggish and prone to complications. Below is a realistic breakdown of healing windows for common placements.
These numbers represent full tissue maturity, not just the end of initial tenderness. Swapping jewelry before the swap window opens can introduce bacteria into a microscopic channel that hasn't fully epithelialized. If you must change jewelry early, go to a professional piercer who can use sterile, implant-grade tools to minimize trauma.
For a deeper understanding of aftercare protocols that support these timelines, refer to a trusted piercing resource like the Association of Professional Piercers (APP) guidelines. Their standards are based on current medical consensus and provide the best defense against infection during these vulnerable months.
Estimate piercing costs
Understanding the total cost of a piercing helps you separate safe, professional services from budget options that often cut corners on safety. When you research a piercing resource, look beyond the initial sticker price to see what the fee actually covers. A professional piercing is not just a needle poke; it is a medical-grade procedure that includes sterile setup, high-quality jewelry, and aftercare guidance.
Why professional fees exceed mall kiosk prices
Mall kiosks often advertise piercings for $20 or less, but this low cost usually reflects inferior materials and higher infection risks. Professional studios charge more because they use implant-grade titanium or 14k+ gold jewelry, which is hypoallergenic and safe for healing. Mall kiosks frequently rely on cheap, nickel-containing studs that can cause reactions or rejection. Additionally, professional piercers undergo rigorous training and adhere to strict health codes, ensuring every tool is single-use and sterilized in an autoclave.
What your fee includes
When you pay a professional piercing fee, you are paying for the entire service ecosystem. This includes the initial consultation, the sterile procedure itself, and the initial jewelry. Many studios also include aftercare instructions or even a follow-up check. Some high-end studios, like MARIA TASH, offer a luxury experience with expert stylists, but even standard professional shops provide essential safety checks that budget options skip. Always ask what is included in the price before booking.
Budgeting for the full experience
Expect to pay between $40 and $100+ for a standard earlobe or cartilage piercing at a reputable studio. Body piercings like nipples or genitals may cost $80–$150 due to complexity. Never choose a piercer based on price alone. A cheap piercing can lead to expensive medical bills if it becomes infected or migrates. Use your piercing resource to find certified professionals in your area, and budget for the quality you deserve.
Common piercing mistakes to avoid
Even with the best piercing resource guide, new clients often repeat the same errors that delay healing or cause rejection. These mistakes usually stem from curiosity or impatience rather than malice, but the consequences are physical and costly.
Touching with unwashed hands
Your fingers carry bacteria that can easily infect a fresh wound. Every time you touch, twist, or move your jewelry, you introduce pathogens directly into the healing fistula. This also disrupts the delicate tissue formation. If you must check your piercing, wash your hands thoroughly with antibacterial soap first. Avoid twisting the jewelry; this is a myth that damages healing tissue. Instead, let the jewelry sit still while your body does its work.
Changing jewelry too early
Removing jewelry before the wound has fully closed allows the hole to shrink or close entirely. For earlobes, this might mean hours; for cartilage, it can take months. Premature changes also expose the fresh puncture to air and contaminants, increasing the risk of irritation bumps and infection. Always wait until your piercer confirms the piercing is fully healed before swapping out your initial jewelry.
Ignoring signs of infection
Some redness and swelling are normal, but excessive heat, pus, or throbbing pain are not. Mistaking infection for normal healing can lead to serious complications. If you notice these signs, do not remove the jewelry yourself, as this can trap the infection inside. Contact your piercer or a healthcare provider immediately for proper treatment.
Your pre-piercing checklist
Before you sit in the chair, align your expectations and your body. Use this piercing resource list to verify you are ready for the appointment.
- Save visual references. Collect photos of piercings you like, ear curations, and specific jewelry styles. Showing your piercer clear images prevents miscommunication about placement and style.
- Eat a solid meal. Never get pierced on an empty stomach. Low blood sugar increases the risk of fainting during the procedure.
- Skip alcohol and blood thinners. Avoid alcohol for 24 hours prior. Refrain from aspirin, ibuprofen, or fish oil, as these can increase bleeding and bruising.
- Wear comfortable, loose clothing. Choose a top that is easy to remove if you are getting a nipple or navel piercing. Avoid turtlenecks or tight collars for ear and facial work.
- Bring ID and payment. Most reputable studios require government-issued identification. Bring a card or cash, as some may not accept digital payments or have minimums.
-
Save photos of desired piercings and jewelry
-
Eat a full meal 2 hours before
-
Avoid alcohol and blood thinners for 24 hours
-
Wear loose, comfortable clothing
-
Bring valid ID and payment method
No comments yet. Be the first to share your thoughts!