
What are piercing pals
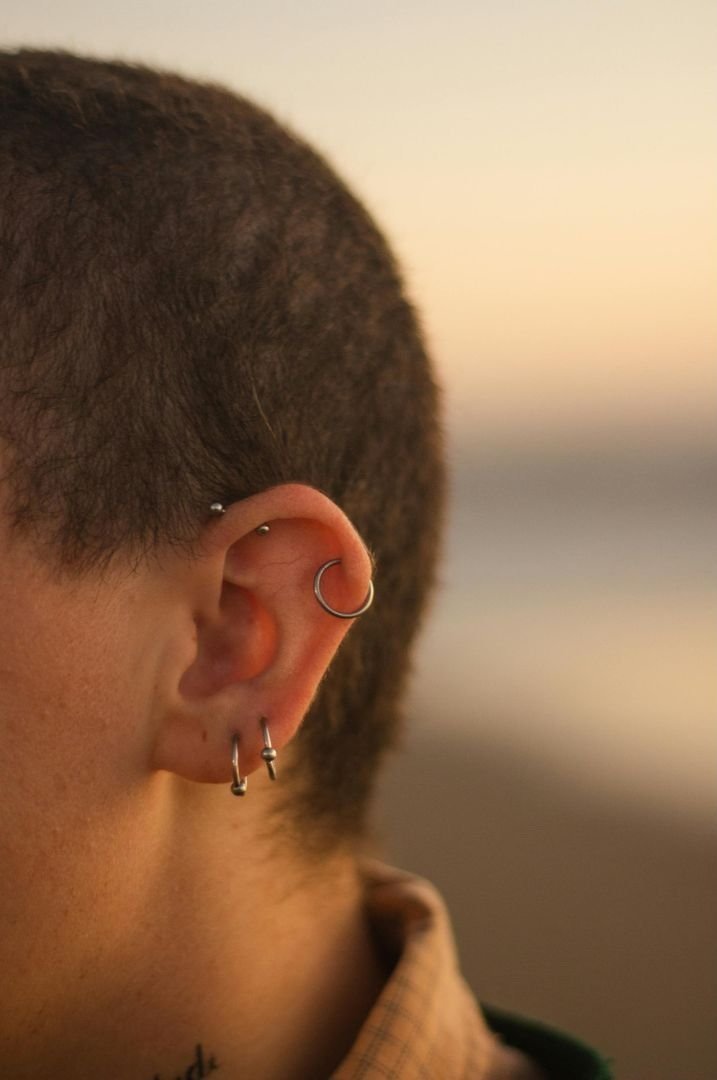
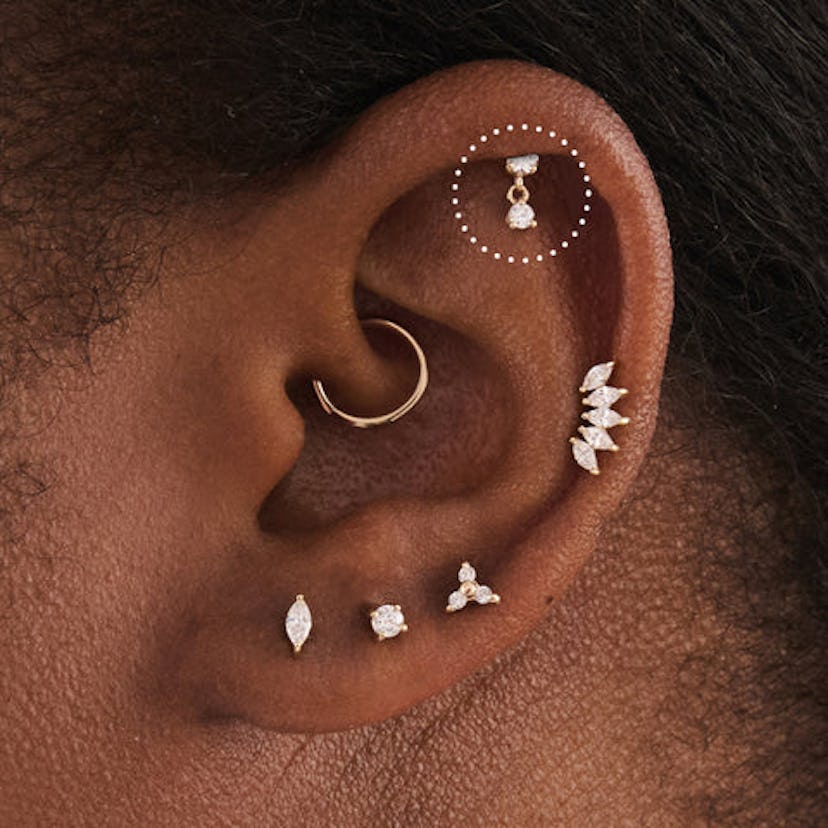
Piercing pals are tiny, decorative jewelry pieces designed to sit snugly in existing piercings. Unlike medical implants or permanent modifications, these accessories are purely aesthetic, allowing you to personalize your look without committing to a single style. They function like miniature charms, adding a touch of whimsy to standard piercings.
These pieces typically feature small designs such as hearts, stars, or simple geometric shapes. They are meant to be collectible and interchangeable, offering a low-commitment way to experiment with fashion. You can swap them out as often as you like, matching them to your outfit or mood.
While the term "pals" suggests a pair, the concept applies to any small, standalone decorative element. They are not medical devices and should not be confused with permanent jewelry. Instead, think of them as the jewelry equivalent of stickers—easy to apply, fun to collect, and simple to remove.
Choose safe materials first
The skin around a piercing is delicate, and the wrong metal can cause irritation, redness, or infection. When selecting tiny jewelry, prioritize hypoallergenic materials that minimize the risk of reaction. This is especially critical for sensitive skin or new piercings that are still healing.
Compare common materials
Different metals behave differently against the skin. Titanium is generally the safest bet for sensitive skin, while surgical steel can contain trace nickel that triggers reactions in some people. Gold should be at least 14k to ensure durability and safety.
| Material | Safety | Durability | Cost |
|---|---|---|---|
Check your jewelry
Before wearing new pieces, verify they are labeled implant-grade or hypoallergenic. Look for certifications from reputable organizations like the Association of Professional Piercers. Avoid costume jewelry containing unknown alloys or plating that can wear off.
Safe material checklist
Use this quick list to verify your jewelry choices:
-
Labeled as implant-grade titanium or 14k+ gold
-
Nickel-free certification or statement
-
Smooth, polished finish with no rough edges
-
Reputable brand with positive safety reviews
Insert piercing pals safely
Getting your tiny jewelry in without causing trauma or infection starts with preparation. Think of this process like threading a needle in dim light: you need steady hands, good lighting, and a clean workspace. If you are inserting pre-pierced jewelry, hygiene is your only barrier against infection. For fresh piercings, professional insertion using a hollow needle is the gold standard for minimizing tissue damage, as recommended by professional piercers who prioritize sterile, single-use tools over guns.
Use warm water and unscented soap to wash your hands for at least 20 seconds. Dry them with a lint-free paper towel to avoid transferring fibers to the piercing site. If you are handling the jewelry, wipe it with a sterile saline solution or an alcohol prep pad to kill surface bacteria before it touches your skin.
Apply a sterile saline spray or wipe to the piercing hole and the surrounding skin. This removes any dried lymph fluid or debris that might block the jewelry or trap bacteria inside. Let the area air dry or gently pat it with a clean paper towel; never use cloth towels which can harbor bacteria and snag on the jewelry.
Hold the jewelry (such as a stud or small hoop) with clean tweezers or fingers. Look in a mirror and gently stretch the skin around the piercing to open the channel slightly. Align the post or clasp with the entry point. If the jewelry is a screw-back or latch-back, ensure the backing is loose enough to slide on but tight enough to stay secure once inserted.
Push the jewelry through the hole with steady, even pressure. Do not force it; if you meet resistance, stop. Forcing jewelry through unhealed or swollen tissue causes micro-tears that invite infection. Once the post is through, immediately secure the backing or clasp. Check that the jewelry moves slightly but doesn't wiggle excessively, which can irritate the healing fistula.
Look closely at the piercing site. The jewelry should sit flush against the skin without digging in. Check that the backing isn't too tight, which can cause swelling, or too loose, which risks losing the jewelry. If the area looks red, swollen, or painful beyond mild tenderness, remove the jewelry and consult a professional piercer or healthcare provider to rule out embedding or infection.
Clean and maintain daily
Keeping tiny jewelry clean is the most effective way to prevent infection and preserve the finish of your piercing. This routine protects your body from irritation and stops jewelry from turning dull or discolored over time. Think of this daily habit as a protective layer for your skin and the metal.
Start by washing your hands thoroughly with antibacterial soap. This step is critical because your hands carry bacteria that can easily transfer to the piercing site during cleaning. Dry your hands with a clean, lint-free paper towel to avoid introducing new contaminants.
Mix a sterile saline solution using non-iodized sea salt and warm distilled water. Avoid using tap water if possible, as it may contain minerals or bacteria. A standard ratio is about 1/4 teaspoon of salt per 8 ounces of warm water. Ensure the salt is completely dissolved before applying it to the piercing.
Dip a clean cotton pad or gauze into the saline solution and hold it against the piercing for a few minutes. This softens any crusties or debris without forcing them off. Gently wipe away any loosened material. Do not twist or rotate the jewelry, as this can damage the healing tissue.
Pat the area dry with a fresh, disposable paper towel or a clean, lint-free cloth. Moisture trapped against the skin can encourage bacterial growth. Ensure the jewelry is completely dry before applying any lotions or makeup near the piercing site.
Consistency is more important than intensity. A gentle, daily routine prevents the buildup of bacteria and oils that can cause redness or swelling. If you notice persistent redness, pain, or unusual discharge, consult your piercer or a healthcare provider immediately rather than trying to treat it with home remedies.
Spot common insertion mistakes
Even with professional help, tiny jewelry can cause trouble if the fit isn't right. The most frequent issue is tightness. If the backing or clasp is too snug, it cuts off circulation and traps bacteria, turning a fresh piercing into a painful infection. Always ensure there is a tiny gap for movement and swelling.
Irritation often stems from incorrect angles. Inserting jewelry at a slant creates uneven pressure on the tissue. This leads to migration, where the body pushes the jewelry out to heal itself. A straight, clean entry is essential for long-term comfort.
Loss is another common headache. Cheap clasps or poorly fitted hoops can slip off during sleep or showering. Check that all closures are fully seated. If you notice redness, swelling, or discharge, remove the jewelry and consult a professional piercer or doctor immediately.
Find a certified piercer nearby
Choosing the right professional is the most important step in keeping your tiny jewelry safe and your piercings healthy. A certified piercer follows strict hygiene protocols, uses sterile equipment, and understands how small pieces interact with different body placements.
The Association of Professional Piercers (APP) maintains a directory of members who adhere to these safety standards. Their "Find a Piercer" tool lets you search by location to locate experts in your area. This is the most reliable way to ensure you are working with someone who prioritizes safety and proper technique.
When you visit, observe the studio. The environment should be clean, and the piercer should be willing to answer questions about aftercare and jewelry materials. If anything feels off, trust your instincts and look for another professional.
Frequently asked: what to check next
What is a Lady Diana piercing?
A Princess Diana piercing (sometimes called a Duke piercing) is a set of piercings that sit on either side of the clitoral hood. While this term often appears in search results for "piercing pals," it refers to intimate genital jewelry, not the tiny, collectible ear or body adornments discussed in this guide.
Can I wear piercing pals while sleeping?
Yes, but with caution. Tiny studs and hoops can snag on bedding or cause irritation if pressed against the skin overnight. If your piercings are new, remove them before sleep to avoid infection. For healed piercings, lightweight designs with secure backs are generally safe for overnight wear.
How do I clean tiny jewelry without losing it?
Use a mild saline solution or gentle soap and water. Always plug your drain or use a small bowl to prevent tiny pieces from going down the sink. Avoid harsh chemicals like alcohol or hydrogen peroxide, which can irritate the skin and damage the metal finish of your piercing pals.
Are piercing pals safe for sensitive ears?
Yes, if you choose the right materials. Look for implant-grade titanium, 14k gold, or surgical steel. These metals are hypoallergenic and less likely to cause reactions. Avoid cheap alloys or nickel-containing metals, which are common causes of redness and itching in sensitive skin.
How often should I rotate my piercing pals?
If your piercings are fully healed, you can swap jewelry daily or weekly to match your outfit. For new piercings, do not rotate the jewelry. Movement can introduce bacteria and delay healing. Let the piercing settle before changing the jewelry for at least 6-8 weeks.
No comments yet. Be the first to share your thoughts!