
Locate your nearest Piercing Pals studio
Finding a verified studio is the first step to a safe experience. Because "Piercing Pals" is a brand name rather than a single national chain, you need to confirm that the location you are booking with is an authorized partner. These studios operate independently, meaning service quality, pricing, and availability can vary significantly from one city to the next.
Start by searching for official studio directories or verified social media profiles. Many authorized locations post their schedules and available piercer rotations on platforms like Instagram or Facebook. Look for posts that explicitly mention the "Piercing Pals" event or service, as these are often limited-time offerings or special collaborations between two piercers.
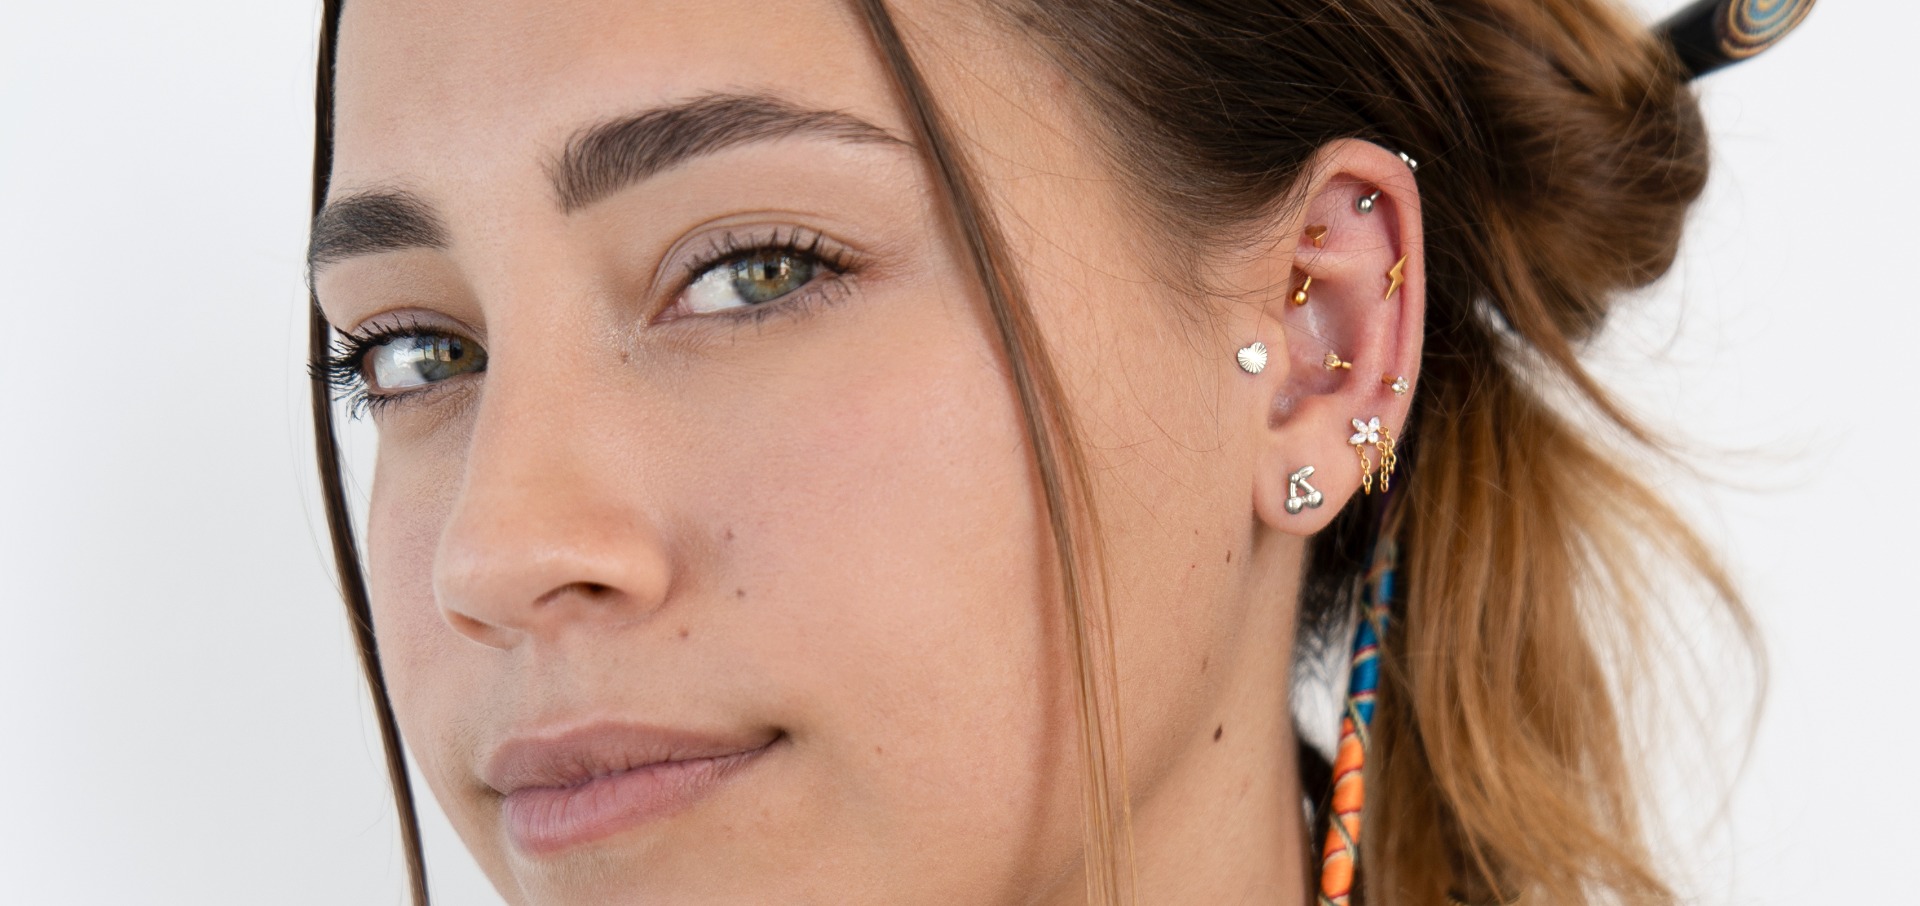
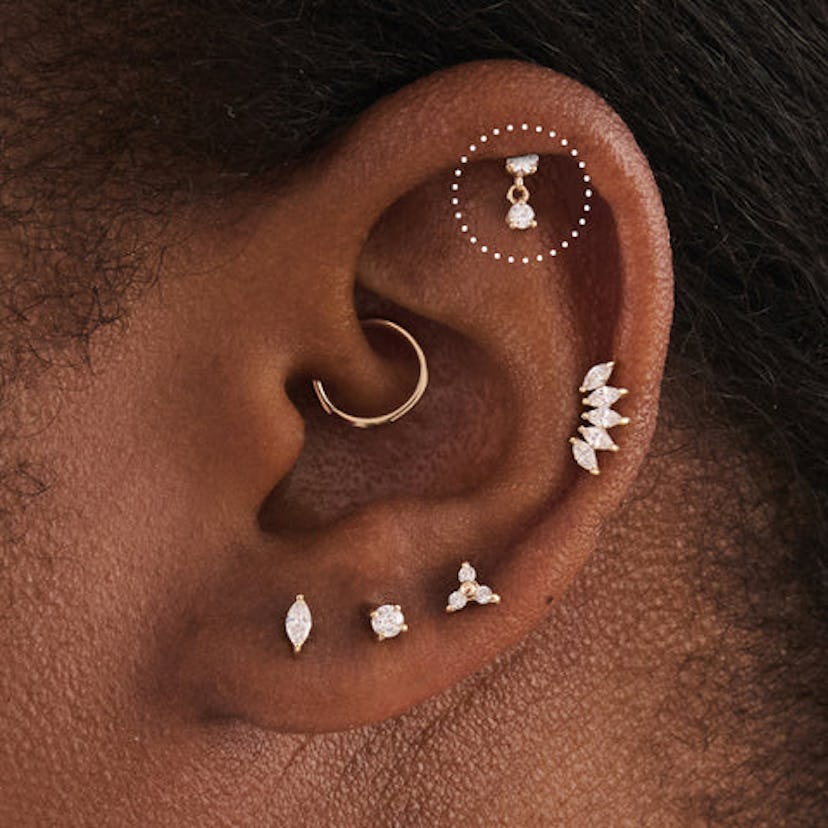
When you identify a potential studio, verify their credentials before booking. Ensure the piercers are licensed and work in a clean, professional environment. If the studio operates on a first-come, first-served basis for these events, arrive early to secure your spot. For specific piercings like lobes, helix, or nostrils, check if appointments are required or if walk-ins are accepted.
If you are traveling to a specific city, call the studio directly to confirm they are currently offering Piercing Pals services. Some locations may have ended their partnership or rotated staff. Direct confirmation prevents wasted trips and ensures you are booking with a qualified professional who understands the specific techniques associated with this service.
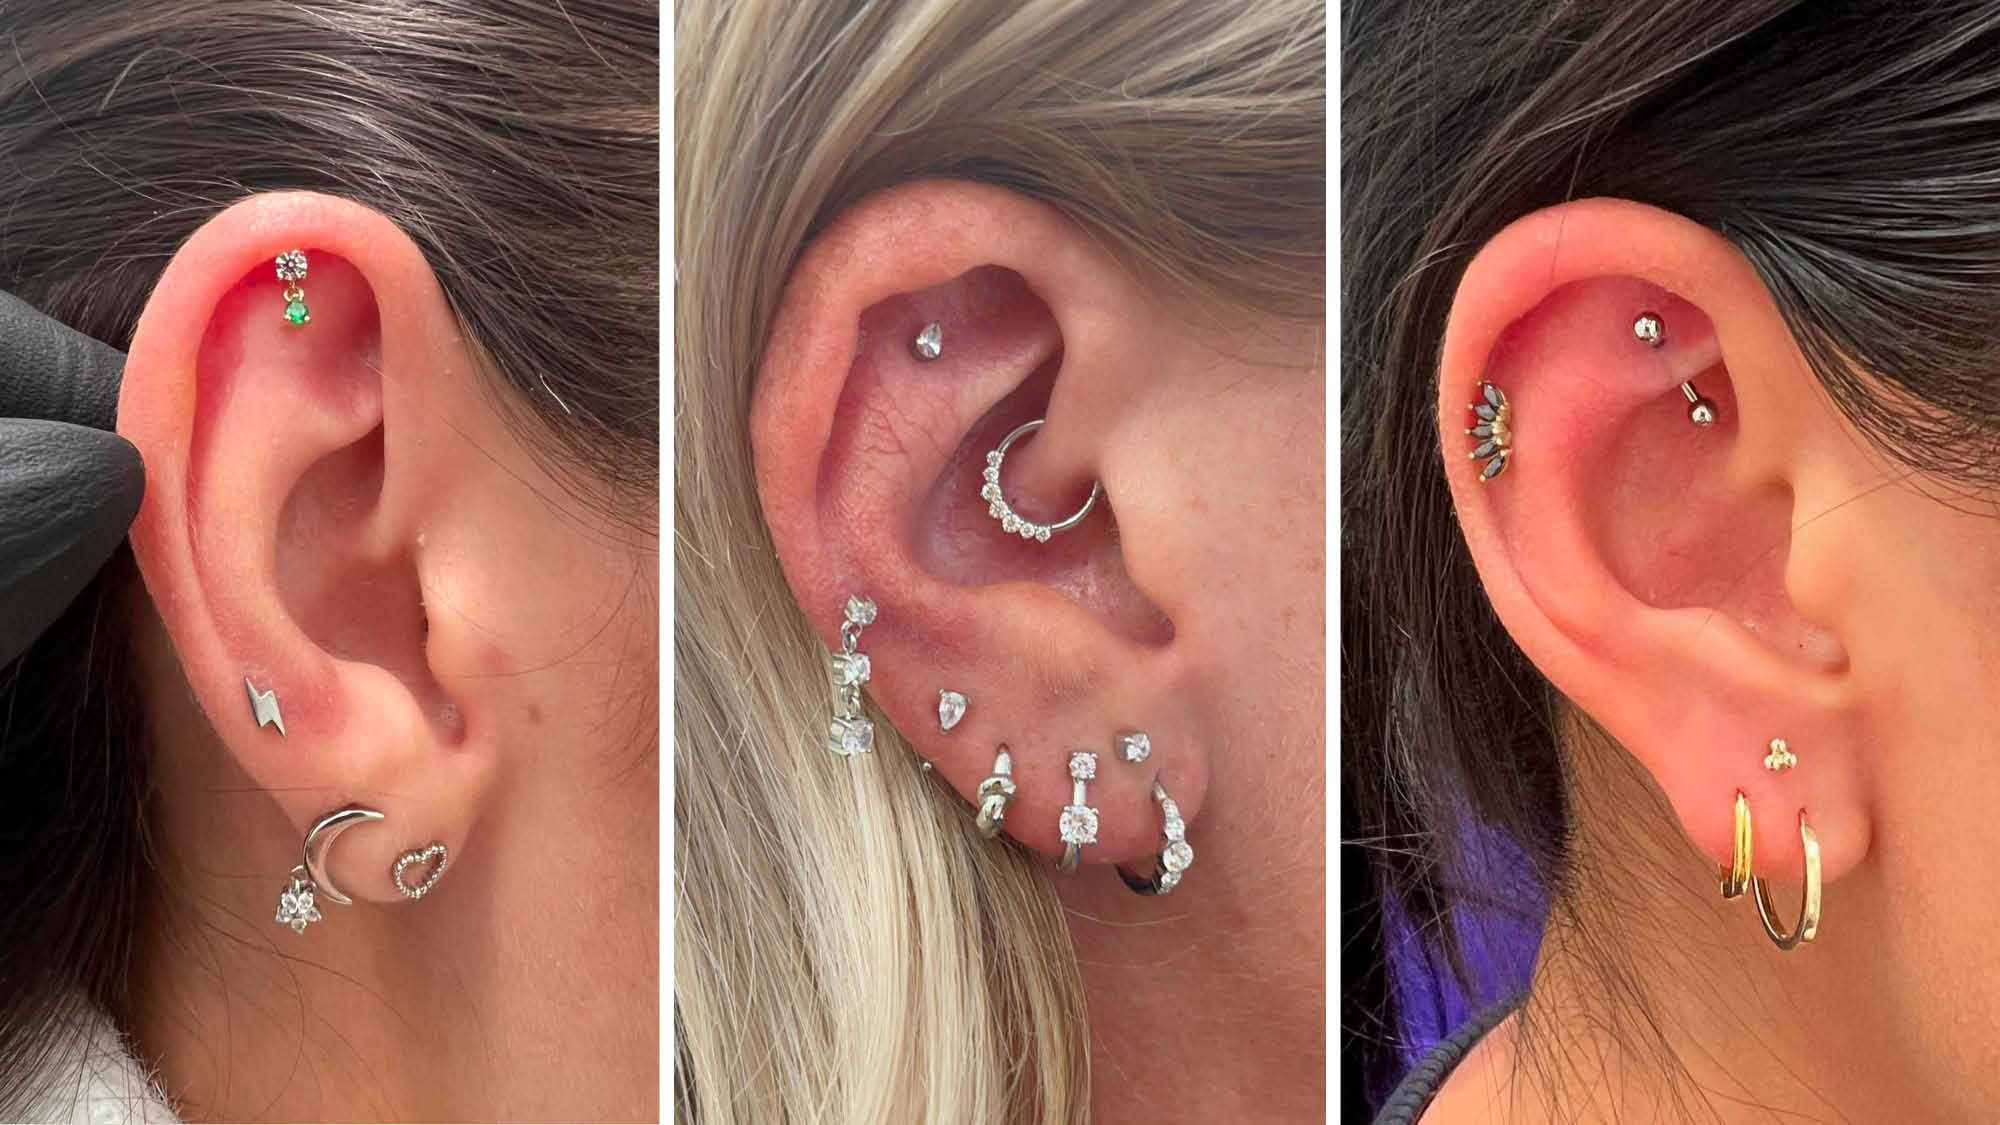
Choose between daith and smiley piercings
Find and Book Your Piercing Pals Appointment works best as a clear sequence: define the constraint, compare the realistic options, test the tradeoff, and choose the path with the fewest hidden costs. That order keeps the advice usable instead of decorative. After each step, pause long enough to check whether the recommendation still fits the reader's actual situation. If it depends on perfect timing, unusual access, or a best-case budget, include a simpler fallback.
| Factor | What to check | Why it matters |
|---|---|---|
| Fit | Match the option to the primary use case. | A good deal still fails if it does not fit the job. |
| Condition | Verify age, wear, and service history. | Hidden condition issues erase upfront savings. |
| Cost | Compare purchase price with likely upkeep. | The cheapest option is not always the lowest-cost option. |
Book your piercing appointment
Finding the right piercer is only half the battle; securing the slot is the other. Most reputable studios, including STUDS, require a brief consultation before your first needle. This step ensures the piercer understands your anatomy, desired jewelry, and aftercare comfort level. It also gives you a chance to verify their hygiene standards and sterilization protocols in person.
1. Contact the studio
Start by visiting the studio’s official website or calling their booking line. Look for a "Book Now" button or a contact form. If you’re booking through a third-party platform, ensure the studio’s profile is verified. During this initial contact, specify the type of piercing you want (e.g., helix, lobe, industrial) and ask about available time slots. Some studios require a deposit to hold your spot, especially for popular artists.
2. Schedule the consultation
Once you’ve selected a date, confirm whether the initial visit is a consultation-only or a combined consultation and piercing. Many studios offer complimentary 15-minute consultations to discuss placement and jewelry options. This is the time to ask about their needle gauge, jewelry material (implant-grade titanium is standard), and aftercare products. If the studio doesn’t offer consultations, treat your first appointment as a thorough intake session where you can voice all concerns.
3. Prepare for your visit
Before you arrive, eat a solid meal and stay hydrated. Piercing involves a minor stress response, and low blood sugar can lead to fainting. Avoid alcohol and blood-thinning medications like aspirin for 24 hours prior, as they increase bleeding and swelling. Bring a valid photo ID, as most studios require proof of age for any piercing. If you’re nervous, bring a friend for support, but check if the studio limits the number of people in the piercing room.
4. Confirm and arrive early
Double-check your appointment time via email or text confirmation. Arrive 10–15 minutes early to complete any necessary paperwork. This buffer time also allows you to settle in and review the studio’s hygiene practices one last time. Look for single-use needles, autoclave sterilization bags, and piercers wearing fresh gloves. If anything looks off, trust your instincts and reschedule.
5. Finalize jewelry and placement
During the final phase of your appointment, the piercer will mark the placement with a surgical pen. This is your last chance to adjust the position. Once you approve the mark, they will clean the area and proceed with the piercing. The actual procedure is quick, but the immediate aftercare instructions are critical. Ensure you leave with a printed or digital aftercare sheet and the contact information for the studio in case of complications.
Common questions about booking
Understanding piercing cost and jewelry
The price tag for a piercing appointment often confuses first-timers. You might see a base price of $30 and wonder if that covers everything, or a higher quote that seems steep for a simple needle poke. The total cost usually breaks down into two distinct parts: the service fee for the piercing itself and the cost of the initial jewelry.
Studio service fees vary based on location, the piercer’s experience, and the complexity of the anatomy. A standard earlobe piercing is generally less expensive than a nostril or navel piercing because it requires less precision and time. Some studios charge a flat rate for all piercings, while others tier their prices by body part. This fee typically covers the consultation, the sterile setup, the procedure, and the aftercare instructions. It rarely includes the jewelry.
Jewelry costs are where the biggest variance occurs. The "base price" you see advertised often assumes you are choosing a basic, implant-grade titanium or surgical steel stud. If you want something more decorative or made from higher-quality materials like solid gold, you will pay the difference. Good studios include the cost of standard initial jewelry in their quoted price, but always confirm this before booking.
When you book your piercing pals appointment, ask for an all-inclusive quote. This ensures there are no hidden fees for the needle, gloves, or cleaning solution. A transparent studio will list the service fee and the jewelry upgrade options separately, so you know exactly what you are paying for.
Essential piercing healing and aftercare
Proper aftercare is the difference between a smooth recovery and a painful infection. The healing process for a daith piercing typically takes 6 to 12 months, while a smiley piercing heals much faster, usually within 6 to 8 weeks. Both require strict hygiene, but the methods differ slightly due to their locations.
Daith piercing aftercare
The daith pierces through the innermost cartilage fold of the ear. Because cartilage has limited blood supply, it heals slowly and is prone to irritation bumps. Stick to sterile saline solution twice daily. Do not twist or turn the jewelry, as this disrupts the forming fistula. Avoid sleeping on that side to prevent pressure and swelling. Keep hair products, perfumes, and lotions away from the area to prevent chemical irritation.
Smiley piercing aftercare
A smiley piercing goes through the thin frenulum under the upper lip. This area is highly vascular, meaning it bleeds easily but also heals quickly. Rinse with an alcohol-free mouthwash after every meal to remove food particles. Avoid spicy, acidic, or crunchy foods that might irritate the wound. Do not play with the jewelry with your tongue, as this can cause swelling and rejection.
Risks to avoid during healing
Regardless of the piercing type, avoid submerging your piercing in pools, hot tubs, or lakes until fully healed. These environments harbor bacteria that can cause serious infections. Also, avoid using alcohol, hydrogen peroxide, or antibiotic ointments unless directed by a professional, as these can dry out the tissue and delay healing.
Daily aftercare checklist
Follow this routine for the first four weeks to ensure proper healing:
-
Clean with sterile saline twice daily
-
Wash hands before touching the area
-
Avoid twisting or moving the jewelry
-
Rinse mouth after eating (smiley only)
-
Inspect for signs of infection (redness, pus, excessive swelling)
Common questions about Piercing Pals services
Booking a piercing appointment can feel like navigating a maze, but understanding the logistics beforehand makes the process smooth. Whether you are visiting a traditional studio or a pop-up event, knowing what to expect helps reduce anxiety and ensures a safe, clean experience.
Do I need an appointment?
Appointment requirements vary significantly depending on the venue. Traditional studios and reputable studios like STUDS typically require scheduled appointments to ensure dedicated time with a certified professional. However, some pop-up events or social media-driven pop-ups operate on a first-come, first-served basis. Always check the specific location’s policy before you go to avoid waiting in long lines or being turned away.
How painful is the procedure?
Pain tolerance is subjective, but most clients describe the sensation as a quick pinch or pressure rather than sharp pain. The discomfort is brief, lasting only a few seconds as the needle passes through. Areas with more cartilage, like the helix or conch, may feel slightly more intense than soft tissue piercings like lobes or nostrils. Your piercer will use a sterile, hollow needle that is sharper than a gun, which often results in less trauma and faster healing.
What aftercare is required?
Proper aftercare is essential for healing and preventing infection. Most professionals recommend cleaning the area twice daily with a sterile saline solution. Avoid touching the piercing with unwashed hands, and do not twist or turn the jewelry. Keep makeup, hair products, and lotions away from the fresh piercing. If you notice excessive redness, swelling, or discharge, contact your piercer immediately for advice.
Work through Piercing Trends
No comments yet. Be the first to share your thoughts!