
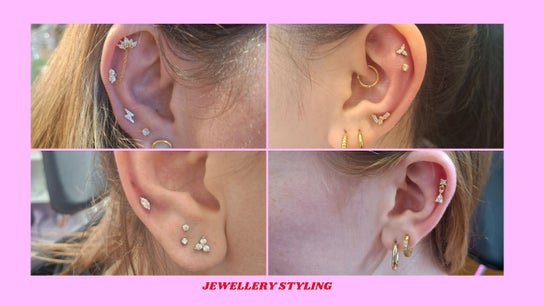
Pick the right piercing for your face
Choosing a piercing is about more than following trends; it’s about finding a style that complements your natural anatomy and fits your daily routine. The four trending styles—septum, helix, daith, and smiley—each have distinct healing timelines and maintenance requirements. Understanding these differences helps you avoid unnecessary pain or complications down the line.
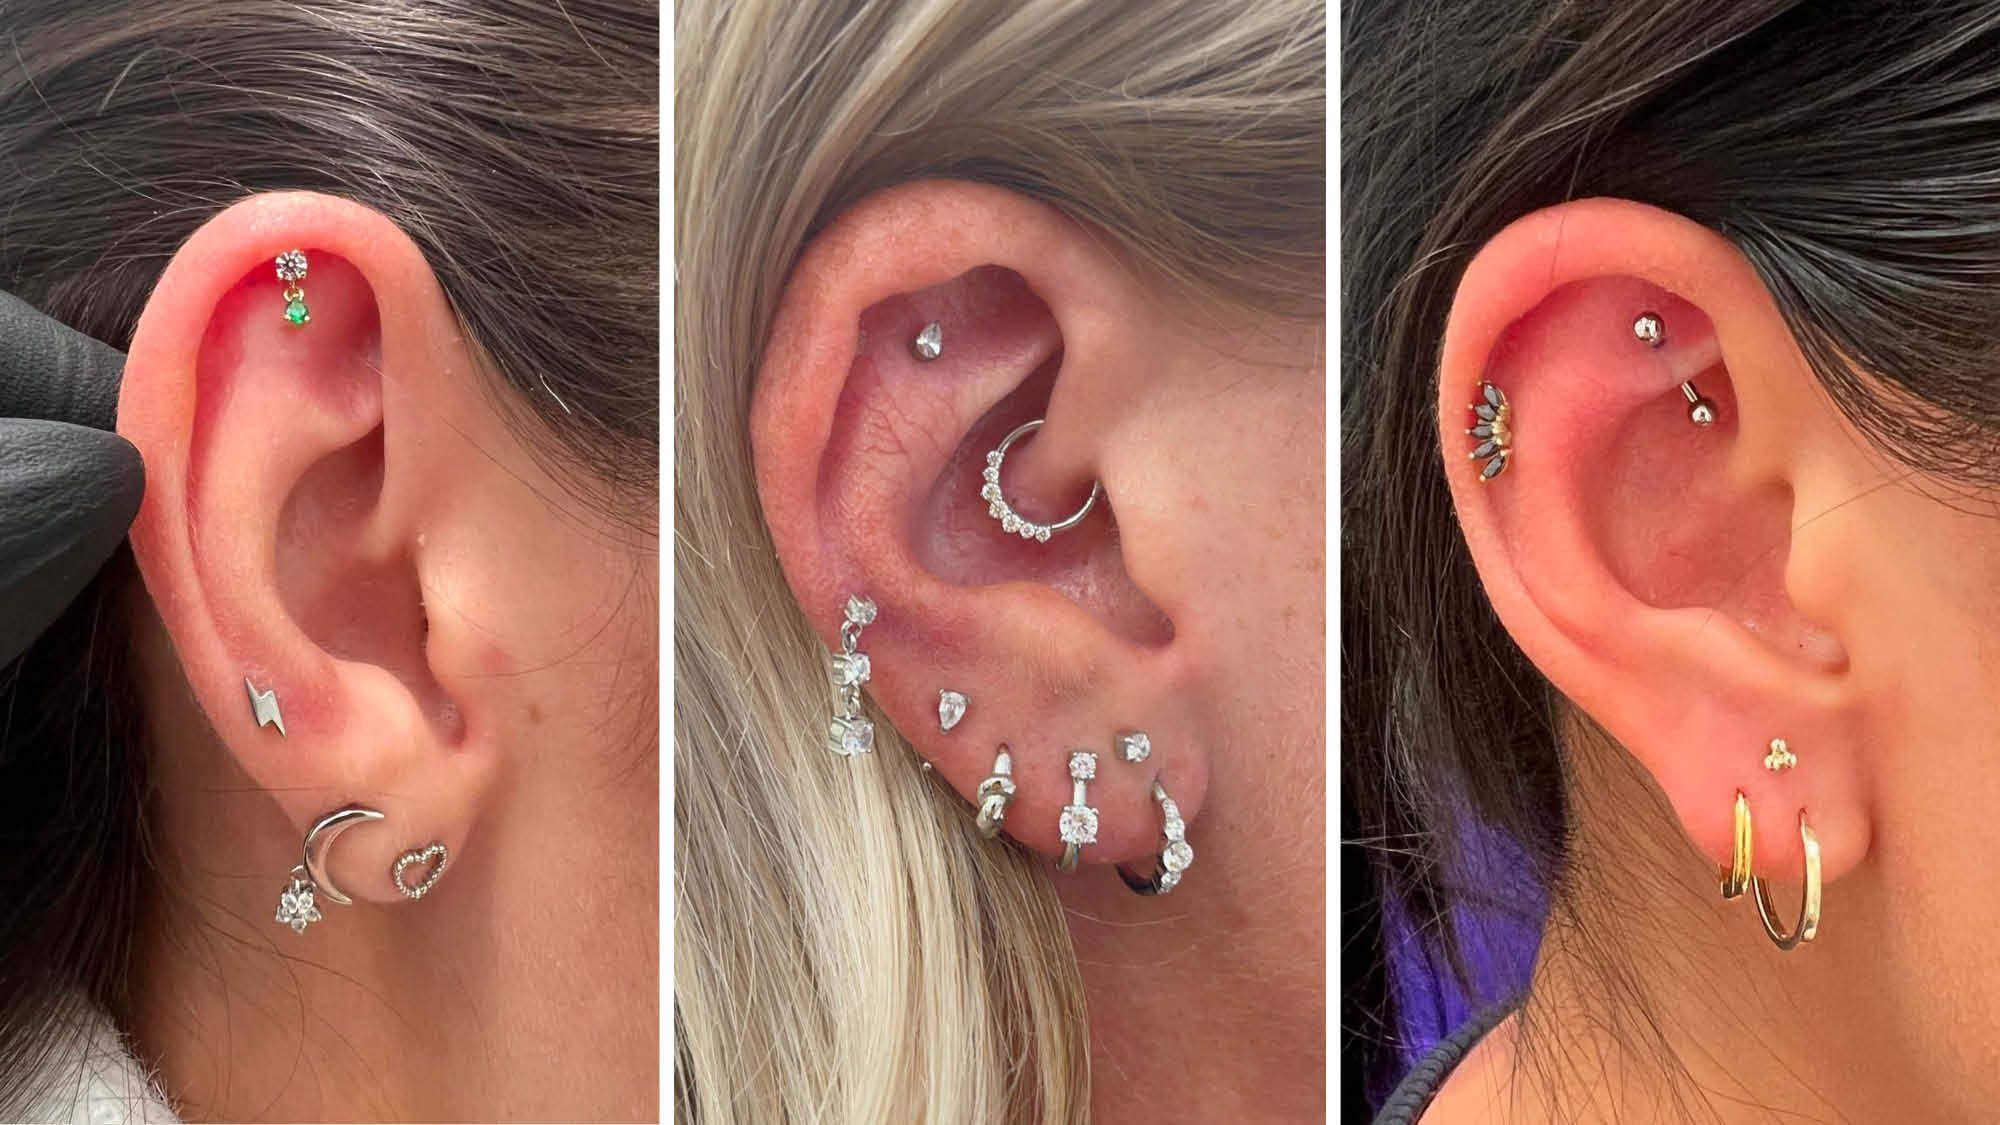
Helix: The Versatile Cartilage Choice
The helix sits on the upper outer rim of your ear cartilage. It is a popular entry point because it heals relatively quickly for a cartilage piercing (typically 3–6 months) and is easy to hide or show with headphones and hair. Because it is cartilage, it requires strict hygiene to prevent infection. Avoid sleeping on that side during the initial healing phase to reduce irritation bumps.

Septum: The Adjustable Statement
A septum piercing goes through the soft tissue just below the cartilage divider in your nose. Its biggest advantage is versatility: you can flip the jewelry up to hide it during work or school, then flip it down for social events. Healing takes about 6–8 weeks. Keep in mind that flipping it too often during the initial healing phase can introduce bacteria and delay the process.
Daith: The Mythical Migraine Relief
The daith piercing passes through the innermost cartilage fold of the ear. While many seek this piercing for anecdotal migraine relief, there is no scientific evidence to support this claim. Consult a doctor for medical advice regarding migraine treatment. From a piercing perspective, the daith has a longer healing time (6–12 months) and is prone to irritation due to its location and the pressure from headphones.
Smiley: The Quick but Fragile Option
A smiley piercing goes through the thin piece of skin connecting your upper lip to your gum line. It is one of the fastest piercings to heal (4–8 weeks) because the tissue is thin and vascular. However, it is fragile. You must avoid biting your lip or playing with the jewelry, as this can cause gum recession or tooth damage. It is best suited for those who are disciplined about oral hygiene and gentle habits.
Find a certified professional piercer
Choosing the right studio is the single most important step in the piercing process. A certified professional follows strict hygiene protocols that protect you from infection and ensure your jewelry heals correctly. Don’t settle for a mall kiosk or an uncertified artist; look for someone who prioritizes safety over speed.
Start by checking the Association of Professional Piercers (APP) member directory. Membership signals that the piercer adheres to the highest standards of health and safety, including regular continuing education and strict sterilization procedures. You can verify a studio’s status directly on the APP website before booking an appointment.
When you visit the studio, trust your instincts. The space should look clean and organized, with no visible clutter or blood. The piercer should wear fresh gloves and use a new, sealed needle for every procedure. They should also be willing to answer your questions about aftercare and jewelry materials without rushing you. If anything feels off, walk away and find another professional.
Checklist for vetting your piercer
- Verify APP certification or equivalent local licensing.
- Inspect the studio for cleanliness and proper waste disposal.
- Confirm the use of autoclave sterilization for all reusable tools.
- Ensure the piercer uses single-use, sealed needles.
- Ask about the jewelry material (implant-grade titanium or niobium is best).
- Review the aftercare instructions provided before you leave.
Prepare your jewelry and schedule
Choosing the right jewelry before you walk into the studio is the single most effective way to ensure a smooth healing process. Your body’s first reaction to a new piercing is inflammation; if the material triggers an immune response, that swelling becomes chronic. Stick to implant-grade titanium (ASTM F136) or niobium for your initial jewelry. These metals are hypoallergenic and inert, meaning they sit quietly in your tissue while it closes around the post. Avoid surgical steel, which often contains trace nickel, and never accept costume jewelry or mystery metals from a gun-based station.
Once you’ve confirmed your material, schedule the appointment strategically. Book your session for a Tuesday or Wednesday morning. These are historically the quietest times in piercing studios, meaning the piercer can focus entirely on your anatomy without rushing. More importantly, scheduling mid-week minimizes downtime. If your earlobe or cartilage gets tender or slightly swollen the next day, you’ll be at home or in a low-stress environment rather than facing a Monday morning commute or a weekend social event.
Before you arrive, prepare your body to handle the procedure. Eat a solid meal an hour before your appointment to keep your blood sugar stable and prevent lightheadedness. Avoid alcohol and blood-thinning medications like aspirin for 24 hours prior, as these increase bleeding and bruising during the procedure. Bring a valid government-issued photo ID, even for ear piercings, as reputable studios strictly enforce age verification laws.
-
Eat a full meal 1 hour before
-
Avoid alcohol and blood thinners for 24 hours
-
Bring valid photo ID
-
Wear a loose, open-neck shirt to avoid snagging
When you arrive, verify that your piercer uses a single-use, autoclaved needle and that your jewelry is sealed and sterilized. The Association of Professional Piercers (APP) maintains strict hygiene standards that protect you from infection and cross-contamination. If the studio looks clean, the piercer wears fresh gloves, and the jewelry is sealed in sterile packaging, you are in good hands. This preparation phase isn’t just about logistics; it’s about setting the physical and mental stage for a safe, healing-friendly experience.
Follow the aftercare steps exactly
Healing a new piercing is less about active treatment and more about consistent, gentle hygiene. Your body needs a clean environment to rebuild tissue around the jewelry. Skipping steps or using harsh chemicals can delay healing, cause irritation bumps, or lead to infection. Stick to the routine below twice daily, and avoid touching the area unless you are cleaning it.

Avoid using alcohol, hydrogen peroxide, or antibiotic ointments unless specifically prescribed. These products are too harsh for healing tissue and can kill the healthy cells needed for closure. Also, avoid swimming in pools, lakes, or hot tubs until the piercing is fully healed, as these environments contain high levels of bacteria and chemicals. If you experience severe pain, excessive swelling, or yellow-green discharge, contact your piercer or a healthcare provider immediately.
Watch for signs of infection or rejection
Healing a piercing is a balancing act. Your body is reacting to a foreign object, so some swelling, tenderness, and clear or whitish discharge is normal during the first few weeks. However, it is vital to distinguish this standard healing response from signs of infection or rejection.
Infection typically presents with thick, yellow or green pus, a foul odor, and redness that spreads outward from the site. You may also feel heat and experience persistent throbbing pain. Rejection, more common with surface piercings, occurs when the body pushes the jewelry toward the skin’s surface. Look for the jewelry becoming more visible under the skin or the hole appearing to migrate.
If you notice these warning signs, do not remove the jewelry yourself, as this can trap an infection inside. Instead, keep the area clean with sterile saline solution and consult your piercer or a healthcare provider. For detailed safety protocols, refer to the Association of Professional Piercers’ guidelines on aftercare and infection management.
Healing times and costs for common piercings
Understanding the timeline and investment for your new piercing helps set realistic expectations. Healing varies significantly by placement, with cartilage taking longer than soft tissue. Below are the typical ranges for the four piercings featured in this guide.
No comments yet. Be the first to share your thoughts!